How to Add Instagram Feed to Shopify Stores (3 Most Popular Options)
After bouncing around tech start-ups and university literature programs, Joe has finally settled down as Billo’s Head of Content. Joe now spends his days writing ads about ads, teaching clients how to craft killer content, and combing through our web copy with a bold red Sharpie.
Seasoned copywriter, promoting the Oxford comma one sentence at a time. Skilled at writing internet-friendly copy, optimizing user journeys, and educating clients on the ever-changing ways of communicating effectively. Worked with brands like Coca-Cola, Adidas, Samsung, Nord Security, and many more.

In the wild world of online shopping, making your Shopify store stand out is at the same time really important as it is difficult. One great way to do this is adding your Instagram feed to your store.
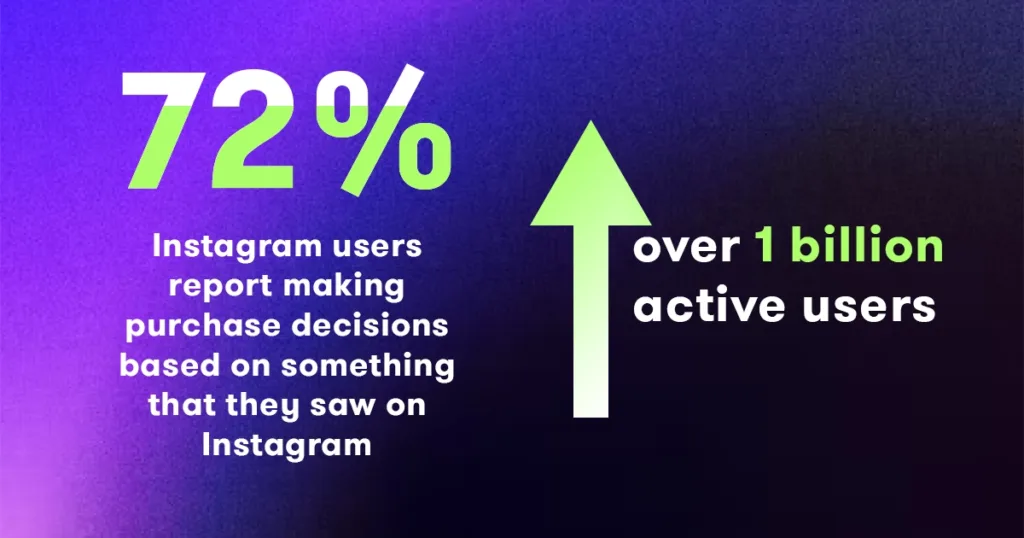
Why Instagram? Let’s look at the numbers: over 1 billion active users and an average engagement rate that only TikTok is currently beating. This means that each post, each image, each reel is an opportunity to engage and to convert.
Instagram’s emphasis on high-quality visuals and its reputation as a brand discovery platform makes it a more effective and appropriate choice for your Shopify store than any other social media feed, especially if you aim to attract customers from various demographics.
But this integration isn’t just about your store looking pretty; it’s a strategic move to ramp up customer engagement. 72% of Instagram users report making purchase decisions based on something that they saw, well… on Instagram.
Also, let’s not forget the element of social proof. When potential customers visit your store and see a display of your Instagram content, complete with real-life customer photos, likes, and comments, it instantly boosts your brand’s credibility.
This integration acts as a powerful endorsement, reassuring new visitors that your products are tried, loved, and trusted by others.
Understanding Your Options for Integration
When it comes to integrating an Instagram feed into your Shopify store, it can be done in a few different ways, each offering its own set of advantages. Understanding these options is crucial in choosing the approach that best aligns with your store’s needs and your technical comfort level.
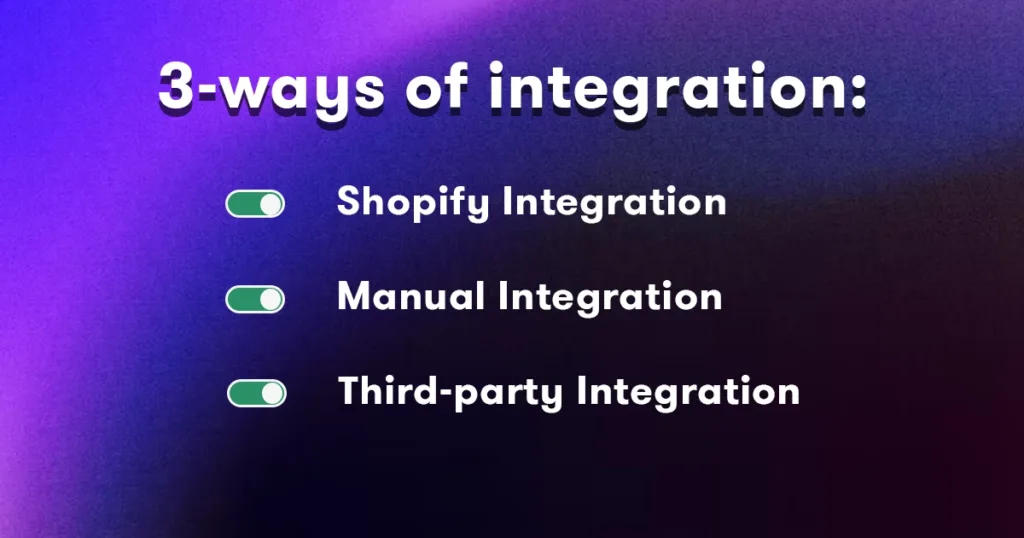
The most common methods include using dedicated Shopify Instagram feed apps, embedding the Instagram feed manually, or utilizing third-party tools.
Shopify’s Instagram feed apps offer a user-friendly, plug-and-play solution with customizable features, ideal for those seeking simplicity and integration support.
Manual embedding, on the other hand, gives you more control over the feed’s appearance and behavior, though it requires a bit more technical know-how.
Lastly, third-party tools can offer additional functionalities and integration options that go beyond what Shopify’s native solutions provide.
Each way has its own selling points. The one you pick depends on what you need. Do you want it to be easy, or do you want more control? Do you need extra features? Thinking about these questions will help you choose the best way to add Instagram to your store.
Option 1: Using Shopify’s Instagram Feed Apps
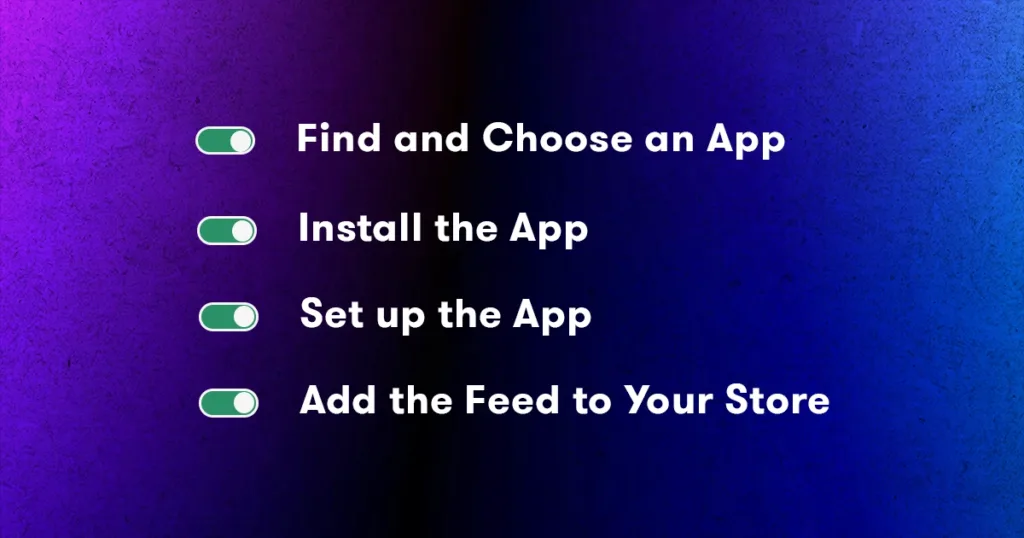
1. Find and Choose an App
First, log into your Shopify store. Go to the Shopify App Store and search for ‘Instagram feed’ apps. You’ll see a bunch of options like ‘Instafeed’ or ‘Socialwidget’.
When choosing the best app for you, consider what you need. Look at the features each app offers––some might have unique styles or extra options like tagging products in posts. Also, check out the reviews and ratings from other users; they can give you an idea of how well the app works and how easy it is to use.
Think about what matches your store’s style and your comfort with technology. If you’re new to this, an app with straightforward settings and good customer support might be best.
2. Install the App
After choosing an app, click on ‘Install’ on its page in the Shopify App Store. This will initiate the installation process.
You’ll be prompted to authorize the app to access your Shopify account, which is necessary for the app to function properly. This step might also include linking the app to your Instagram account, which will allow the app to pull your Instagram content directly into your Shopify store.
Follow the on-screen instructions carefully to ensure a proper setup. Keep in mind that some apps might require you to input additional settings or preferences during the installation.
3. Set up the App
After installation is done, setting up the app is your next step. This typically involves connecting the app to your Instagram account. You’ll usually find an option within the app settings to ‘Link Instagram’ or ‘Connect to Instagram’. Once you click this, you’ll be guided to log in to your Instagram account to authorize the connection.
This link is crucial as it allows the app to display your Instagram posts in your Shopify store.
After linking your Instagram account, you’ll customize how your Instagram feed will appear on your Shopify site. Most apps offer a range of customization options: from the layout of the feed and the size of the images, to how many posts you want to display at a time.
Some apps might also offer advanced settings like choosing which specific posts to display or hide, or how to handle video content. Take your time to explore these settings to ensure your feed aligns with your store’s design and your brand aesthetic.
4. Add the Feed to Your Store
The final step is to integrate the Instagram feed into your Shopify store. Most Shopify Instagram feed apps provide a straightforward process for this.
Typically, you will find an option in the app labeled something like ‘Add to Store’, ‘Embed Feed’, or ‘Install Widget’. By selecting this, the app will guide you through the process of embedding the feed into your website.
During this process, you’ll often have the option to choose where the Instagram feed will appear on your store. Common placements include the homepage, product pages, or a dedicated Instagram gallery page. Some apps offer drag-and-drop functionality within the Shopify theme editor, allowing you to visually choose the feed’s location on your page layout.
Alternatively, the app might generate a code snippet that you can insert into your site’s HTML where you want the feed to appear.
The key is to choose a spot where your Instagram feed will be most effective in engaging visitors.
Once you have chosen the location and finalized the settings, don’t forget to save the changes (always save each change you make on Shopify!). Your Instagram feed will now be live on your store, showcasing your social media content directly to your customers.
Pros:
- Easy to use: These apps are made for people who aren’t tech experts. They’re usually very straightforward and beginner-friendly.
- Quick setup: You can get your Instagram feed up and running fast, often in just a few clicks.
- Customizable: Many apps let you change how your feed looks so it matches the look and style of your store.
Cons:
- Limited control: While you can customize, there might be limits to how much you can change.
- Dependence on the app: If the app has issues or stops working, your feed might be affected.
- Cost: Some of these apps might require a monthly subscription, especially for more advanced features.
Option 2: Embedding Instagram Feed Manually
Embedding an Instagram feed manually into your Shopify store is a more hands-on approach that requires some technical know-how. If you’re comfortable editing HTML or CSS code, this method gives you more control over the feed’s integration and appearance. However, if this sounds too technical, you might prefer using an app (as described in Option 1) or consulting with a web developer or programmer who can handle this task for you.
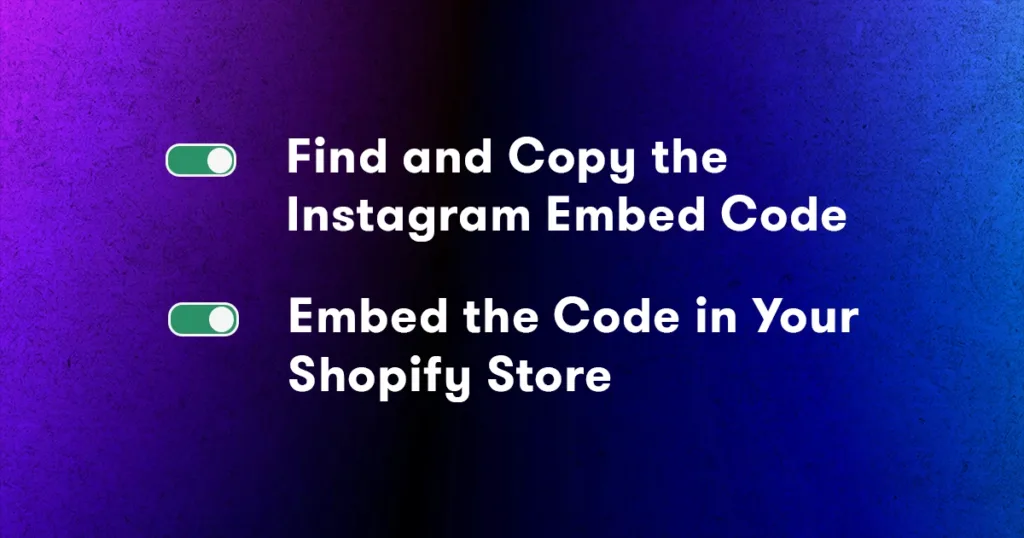
1. Find and Copy the Instagram Embed Code
To manually embed an Instagram feed into your Shopify store, start by opening Instagram on your web browser.
Navigate to the specific post you want to embed. On the post, look for the three dots located in the upper right corner and click on them.
A menu will appear with several options; from here, select ‘Embed’. Instagram will then provide you with an embed code for that specific post. Copy this code, as you’ll need it to insert the post into your Shopify site.
2. Embed the Code in Your Shopify Store
Once you have the Instagram embed code, the next step is to add it to your Shopify store.
Begin by logging into your Shopify admin panel. From there, navigate to the ‘Online Store’ section, and then go into ‘Themes’.
In your themes list, find the theme you’re currently using and want to edit, and click on the ‘Customize’ button. This will take you to the theme editor, where you can modify different aspects of your store’s appearance.
Decide where you want the Instagram post to appear. This could be on your homepage, product pages, or any other page of your store. Once you’ve selected the placement, find the section where you want to embed the post.
If there’s no existing section where the code can be placed, you can add a new ‘Custom HTML’ section. In this section, paste the Instagram embed code that you copied earlier.
After pasting the code, review the placement to ensure it fits well with your page’s layout. Once you’re satisfied with how it looks, don’t forget to save your changes. This will update your store with the new Instagram embed, showcasing the selected post(s) to your visitors.
Pros:
- Customization: Manual embedding allows for more control over how the Instagram feed appears on your site.
- No dependency on apps: This method doesn’t rely on third-party apps, avoiding potential compatibility issues or app fees.
- Higher level of selectivity: Unlike most Shopify Instagram feed apps that typically display a continuous feed, manual embedding allows you to handpick which Instagram posts appear on your Shopify store.
Cons:
- Technical skills required: You need a basic understanding of HTML/CSS to embed and style the feed correctly.
- Time-consuming: Compared to using an app, this method can be more time-consuming, especially if you want to display multiple posts.
- Manual updates: Unlike apps that automatically update your feed, manual embedding requires you to update the embedded content yourself.
Remember, this method is best suited for those who have some experience with web development or are willing to invest time in learning. Yes, it offers a free tailored solution but at the expense of simplicity and convenience.
Option 3: Third-Party Tools
Third-party tools provide a flexible solution for integrating Instagram with your Shopify store. These tools often come with advanced features and offer more customization options than Shopify’s native apps.
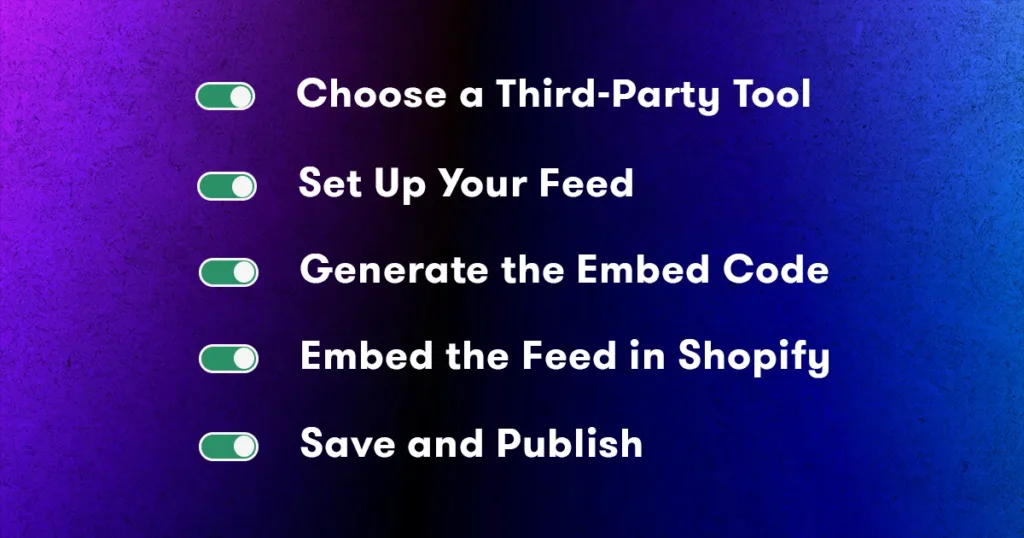
1. Choose a Third-Party Tool
The first step is to thoroughly research and choose a third-party Instagram integration tool that aligns with your specific requirements. When choosing a tool, consider the following:
- Features: What does the tool offer? Look for functionalities like the ability to display multiple feeds, customization options for how the feed looks, and any additional features like analytics or shoppable posts. Determine which features are essential for your store and which are nice-to-haves.
- Ease of Use: The tool should be user-friendly, especially if you’re not very tech-savvy. Check if the tool offers a straightforward setup process and intuitive controls for managing your feed. Reading reviews and watching demo videos can give you a sense of how easy the tool is to use.
- Pricing: Evaluate the cost-effectiveness. Does it offer a free plan, and what features are included? For paid plans, consider whether the additional features justify the cost. Also, look for any hidden fees or long-term commitments you’re not willing to agree on.
- Compatibility: Ensure that the tool is compatible with Shopify and functions well with your store’s theme. It’s also worth checking if the tool offers a responsive design, ensuring that your Instagram feed looks good on both desktop and mobile devices.
2. Set Up Your Feed
After choosing the third-party tool for your Shopify store, the next step is to sign up for an account with that service. Once you’re registered, you’ll typically be directed to a dashboard or control panel. This is where the creation and customization of your Instagram feed widget takes place.
In the dashboard, you’ll find options to create a new Instagram feed widget. The process usually involves selecting the Instagram account you wish to display and then moving on to customization options.
These tools often provide a variety of customization features allowing you to tailor the appearance of your Instagram feed to seamlessly integrate with your store’s design.
You can adjust the layout, change the size of the images or the feed itself to suit your site, and choose which specific posts you want to display. Some tools also offer options to filter posts by hashtags or types of posts, giving you even more control over the content that appears on your Shopify store.
As you make these customizations, many tools provide a live preview, so you can see how the feed will look on your site in real time. This feature is particularly helpful in achieving the desired aesthetic and functionality before you finalize and embed the widget on your Shopify store.
3. Generate the Embed Code
This step is really simple. Once you’re happy with how your feed looks, the tool will generate an embed code for you. Copy this code, as it will be used to embed the feed into your Shopify store.
4. Embed the Feed in Shopify
Start by logging into your Shopify admin panel. From here, navigate to the ‘Online Store’ section and then click on ‘Themes’. Here you’ll find the option to ‘Customize’ your current theme.
Decide where you want the Instagram feed to appear on your site. It could be on the homepage, on a specific product page, or even on a dedicated gallery page. Once you’ve chosen the right spot, you need to add a section for the feed.
If there’s a suitable spot already, like an existing ‘Custom HTML’ section, you can edit it. If not, you can easily add a new ‘Custom HTML’ section. In this section, paste the embed code that you copied from the third-party tool.
This will place the Instagram feed in the chosen area of your Shopify store. After pasting the code, it’s always a good idea to preview the page to ensure the feed displays correctly.
5. Save and Publish
After embedding the code, review the placement to ensure it aligns with your store’s design. Once everything looks good, save the changes to make the Instagram feed live on your site.
Pros:
- Advanced customization: These tools often offer more extensive customization options, allowing you to tailor the Instagram feed to match your store’s aesthetics.
- Additional features: Many third-party tools provide extra features like analytics, shoppable posts, and multi-feed integration.
- Platform independence: They are not limited to Shopify, offering flexibility if you use multiple e-commerce platforms.
Cons:
- Cost: While some tools have free versions, advanced features often come at a cost.
- Complexity: Some tools may require a bit more technical understanding to set up and customize effectively.
- External dependency: Relying on a third-party service means your feed could be affected by external issues like downtime or changes in the tool’s policies.
Using third-party tools for Instagram integration offers a balance between functionality and customization. It’s an excellent option for those who need more than what Shopify’s native apps provide and are willing to navigate the additional complexity.
BONUS: Making Your Instagram Feed Shoppable
A shoppable Instagram feed is a feature that turns your Instagram posts into clickable links, leading directly to product pages on your Shopify store.
This integration allows customers to shop products they see in your Instagram images, significantly reducing the steps from discovery to purchase. The benefits are clear: it simplifies the shopping process, increases engagement, and can lead to higher conversion rates as customers are directed to where they can buy the featured products.
Steps to Tag Products in Your Instagram Posts:
- Ensure eligibility: To use shoppable posts, your Instagram account must be a business profile and you need to have a Facebook catalog connected to your Instagram.
- Set up Instagram shopping: In your Instagram app, go to your profile settings, tap ‘Business’, and then ‘Shopping. Follow the prompts to connect your Shopify store’s product catalog.
- Tag products in posts: When creating a post, tap ‘Tag Products’. You can then select items from your catalog. Tag up to five products per single image or video post, or up to twenty products per multi-image post.
- Publish and promote: After tagging, share your post as usual. These shoppable tags will allow customers to tap on a product and be taken to the corresponding product page on your Shopify store.
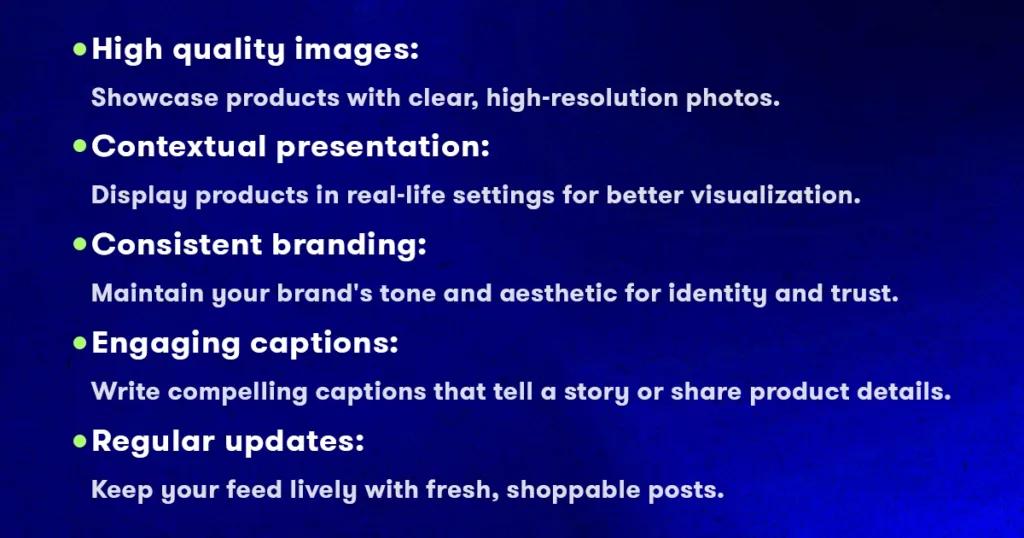
Best Practices for Creating Shoppable Posts:
- High-quality images: Use clear, high-resolution images that showcase your products in the best light possible.
- Contextual presentation: Display products in a lifestyle setting or in use, which helps customers visualize the product in their own lives.
- Consistent branding: Maintain your brand’s aesthetic and tone in your posts to build brand identity and trust.
- Engaging captions: Write captions that tell a story or provide interesting details about the product, encouraging followers to explore further.
- Regular updates: Keep your feed fresh and engaging by regularly adding new shoppable posts.
Creating a shoppable Instagram feed can bridge the gap between browsing and buying. This approach not only leverages the visual appeal of Instagram but also capitalizes on its vast user base to drive traffic and sales to your Shopify store.
Remember, the goal is to find a balance between aesthetic appeal, functionality, and user experience that aligns with your brand identity and meets your business objectives. Don’t hesitate to try different methods and make adjustments as needed to ensure your Instagram integration is as effective as possible!
Head of Content
After bouncing around tech start-ups and university literature programs, Joe has finally settled down as Billo’s Head of Content. Joe now spends his days writing ads about ads, teaching clients how to craft killer content, and combing through our web copy with a bold red Sharpie.


Authentic creator videos, powered by real performance data
22,000+ brands use Billo to turn UGC into high-ROAS video ads.

17 Best Apps For Amazon Sellers
Today, there are over 9.5 million Amazon sellers (that’s more [...]...
Read full article 18 Aug
How To Sell On TikTok Shop: The Ultimate Guide To Launching and Growing Your Online Store
Pinterest and Facebook started the ball rolling on social media [...]...
Read full article
10 Aug
eCommerce Photography 101: All You Need to Know About Taking the Perfect Product Shots
Imagine shopping online and stumbling upon two identical products, but [...]...
Read full article
12 Apr

