
eCommerce Photography 101: All You Need to Know About Taking the Perfect Product Shots

Imagine shopping online and stumbling upon two identical products, but one has detailed high-resolution photos, and the other has low-quality product screenshots you can’t even properly zoom in. Which one would you buy?
It’s no surprise that visually appealing images can more than double the interest in a product. In fact, 75% of people who shop online rely on product photos to make their purchase decisions.
This is where ecommerce photography steps in, making your products look irresistible online and giving shoppers that “must-have-now” feeling.
Now here’s the thing: hiring a professional photographer sounds great, but it’s not always the most budget-friendly way to go about it. The cool part? You don’t really need one to get great product photos.
With a few basic tools and some straightforward tricks, anyone can take standout product photos on their own. Whether you’re running your ecommerce business on a tight budget or want to break into ecommerce photography yourself, it’s more doable than you might expect.
The 3 Main Types of eCommerce Photography
A picture isn’t just worth a thousand words—it’s also the gateway to building engagement and driving sales. In the digital marketplace, where visuals can make or break customer interest, understanding what product pictures should you use becomes crucial.
Broadly speaking, ecommerce photography can be categorized into three types, each serving a unique purpose.
Product-Only Shots: Creating Clean and Clear Images
Product-only shots are the backbone of ecommerce photography. They are clean, clear, and focused solely on the product against a neutral background––typically white to minimize distraction.
This type of photography is especially crucial for product pages, where clarity and detail are essential. Capturing every curve, corner, and color, these images bridge the gap between digital browsing and tangible reality.
In the world of fashion and apparel, for example, these shots allow customers to closely examine fabric textures, stitching quality, and color accuracy. Similarly, in the electronics industry, product-only shots provide a clear view of design features, ports, and accessories, offering essential information at a glance.
Essentially, any industry where the physical characteristics of a product play a crucial role in the consumer’s purchase decision finds immense value in the clarity and focus that product-only shots provide.
Remember, the end goal here is to provide a detailed view that allows customers to see exactly what they’re buying.
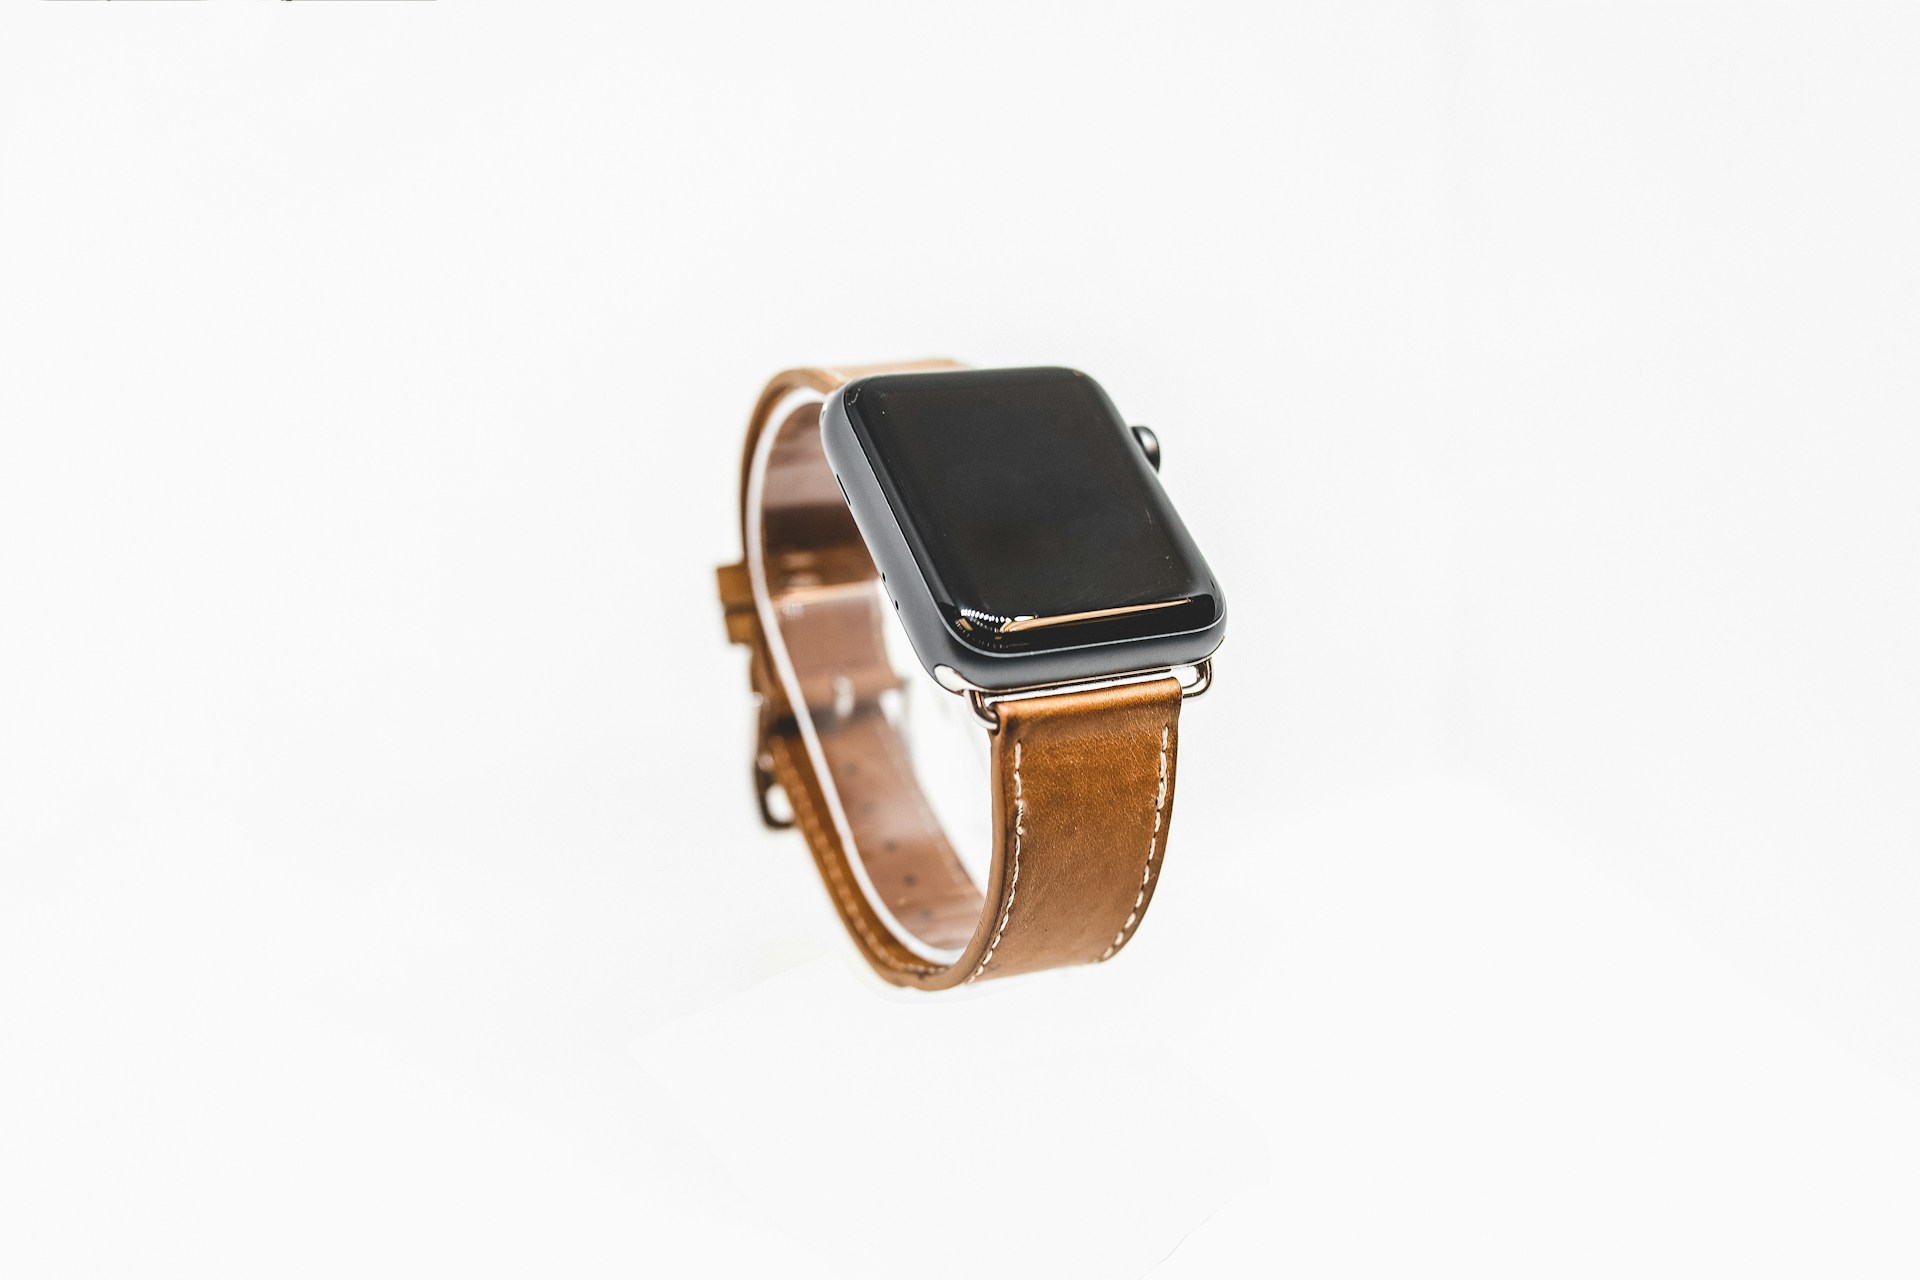
Unsplash, Daniel Tomlinson
Lifestyle Shots: Telling a Story with Your Product
Lifestyle shots take the product out of isolation and place it in a styled, real-life context. These images tell a story, showcasing how the product is used or the kind of lifestyle it complements.
Fashion and home decor benefit immensely from this style, as seeing products in a real-life context helps consumers visualize how they might fit into their own lives. Tech gadgets and fitness equipment also gain from lifestyle shots, which can demonstrate their use and effectiveness in everyday scenarios.
So, whether it’s a piece of jewelry worn by someone bathed in sunset light or a kitchen gadget during a family meal prep, this approach connects emotionally with consumers, showcasing not just the product but the kind of life they could lead with it.

Unsplash, Carl Heyerdahl
Creative Shots: Using Imagination to Stand Out
Creative shots are where ecommerce photography meets art. This category is all about using your imagination to make your product stand out in a crowded online marketplace.
These could be conceptual images that play with visual metaphors, unusual angles, or unexpected elements that draw the viewer’s eye. Creative shots are particularly useful for social media, where uniqueness and flair can even turn a simple product photo into a viral sensation.
Also, creative product shots shine in markets where innovation, uniqueness, and brand personality are key differentiators. Industries like fashion, where standing out is crucial, or tech, where the latest features can be highlighted in imaginative ways, greatly benefit from this approach.
While these images can be more challenging to create, they offer an opportunity to showcase the personality of your brand and engage customers in a memorable way.

Unsplash, Hermes Rivera
How to Do eCommerce Product Photography
No matter which type you decide to shoot, creating stunning ecommerce photos doesn’t require a studio or expensive gear. With a few adjustments and the right setup, you can capture professional-quality images right at home. Here’s how to get started.
Preparing Your Space: Simple Setups at Home
- Find the right spot. Look for a space with good natural light, near a window but out of direct sunlight. This helps achieve soft, diffused lighting. Clear the area to avoid clutter in your shots.
- Create a backdrop. Use a plain backdrop to keep the focus on your product. A large sheet of white paper or fabric can work wonders. For smaller items, a white poster board is a great, affordable option.
- Organize your products. Before you start shooting, make sure your products are clean and in perfect condition. Any dust or imperfections can be magnified in photos, so give each item a thorough check.
Choosing the Equipment
Recently, we covered “13 essential tools to have if you want to start your UGC creator career,” highlighting the key gear to get you going. Now, let’s focus on the photography equipment that can turn your home setup into a studio for great ecommerce shots.
Camera: When a Smartphone is Enough
Gone are the days when high-quality ecommerce photography demanded expensive DSLRs or mirrorless cameras. Modern smartphones are equipped with cameras that can easily rival traditional photo equipment in capturing clear, detailed images perfect for ecommerce.
First, assess your smartphone’s camera capabilities. Many recent models offer advanced features like high megapixel counts, manual settings, and even RAW image capture. These features can significantly boost the quality of your photos.
Lighting Essentials
Good lighting is key. If natural light isn’t enough, consider softbox lights or LED panels. These don’t have to be expensive; there are budget-friendly options that can significantly improve your photo quality.
Accessories and Props
Keep it simple. Use props that complement the product without stealing the spotlight. Neutral-colored items help maintain focus on the product. A reflector (even a piece of white cardboard) can help bounce light and reduce shadows.
Also, using a tripod is non-negotiable, even with a smartphone. Stability is key to sharp, professional-looking images, and a tripod ensures your shots are consistently steady. Plus, it frees your hands to adjust lighting, props, or the product itself.
Remember, the goal is to showcase your products in the best light (literally and figuratively) and entice customers to make a purchase.
Step-by-Step Guide to Shooting Your Products
Capturing the perfect product photo involves more than just pointing and shooting. With a thoughtful approach, you can produce images that not only showcase your products but also enhance their appeal to potential buyers. Here’s a simple guide to get you started:
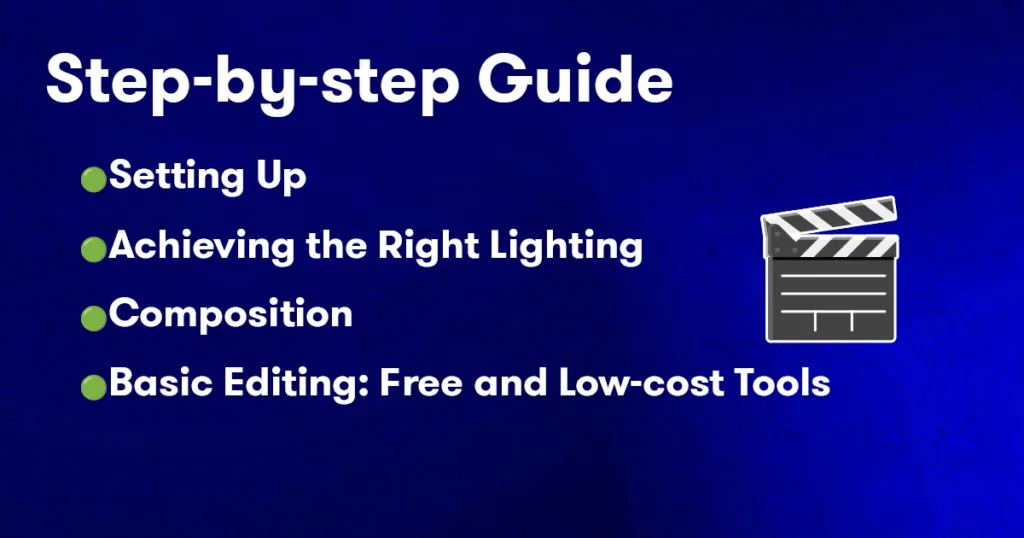
Setting Up
- Clean your product. Ensure it’s free of dust, smudges, or fingerprints. Even small imperfections can be really noticeable in photos.
- Choose the right background. A neutral or white background works best for most products, highlighting the item without distraction.
- Position your product. Center your product in the frame, allowing for some negative space around it. This makes your product the focal point and helps it stand out. Place your product on the setup, arranging it so its best features are visible. Use supports or stands if needed to maintain the desired position.
Achieving the Right Lighting
- Use natural light when possible. Soft, diffused daylight is ideal. Shoot near a window, but avoid direct sunlight to prevent harsh shadows.
- Supplement with artificial lighting. If natural light isn’t sufficient, use softbox lights or LED panels to fill in shadows. Aim for even, soft lighting around your product.
- Adjust the position. Move the lights or your product setup to eliminate unwanted shadows or to highlight certain aspects of your product.
Composition Tips for Better Shots
- Follow the rule of thirds. Imagine your image divided into nine equal segments by two vertical and two horizontal lines. Place your product along these lines or at their intersections for a balanced composition.
- Try different angles. Don’t just stick to one viewpoint. Try shooting from above, the side, or at a 45-degree angle to show off different features of your product.
- Include some context. While keeping the focus on your product, add elements that tell a story about your product or demonstrate how it’s used. But be mindful not to overcrowd the scene. Usually, less is more.
Basic Editing: Free and Low-cost Tools
- Crop for better composition. Adjust the framing to ensure your product is the focal point and to remove any unnecessary background.
- Adjust brightness and contrast. Enhance the overall look of your photo by tweaking the brightness and contrast. Aim for a natural, but vibrant appearance.
- Correct the color. Make sure the colors in your photo accurately reflect the product. Adjust the saturation or color balance if needed.
- Use editing apps. Don’t overlook the power of photography apps like Adobe Lightroom Mobile or VSCO which offer advanced yet super user-friendly editing tools that bring out the best in your photos. From adjusting exposure and contrast to fine-tuning color balance, these apps can elevate your smartphone shots from meh to great.
Practice and experimentation are key to developing your skills, so don’t be afraid to try new techniques and approaches, you might just stumble upon something that will bring your brand to the next level.
Top 5 Mistakes to Avoid in eCommerce Photography
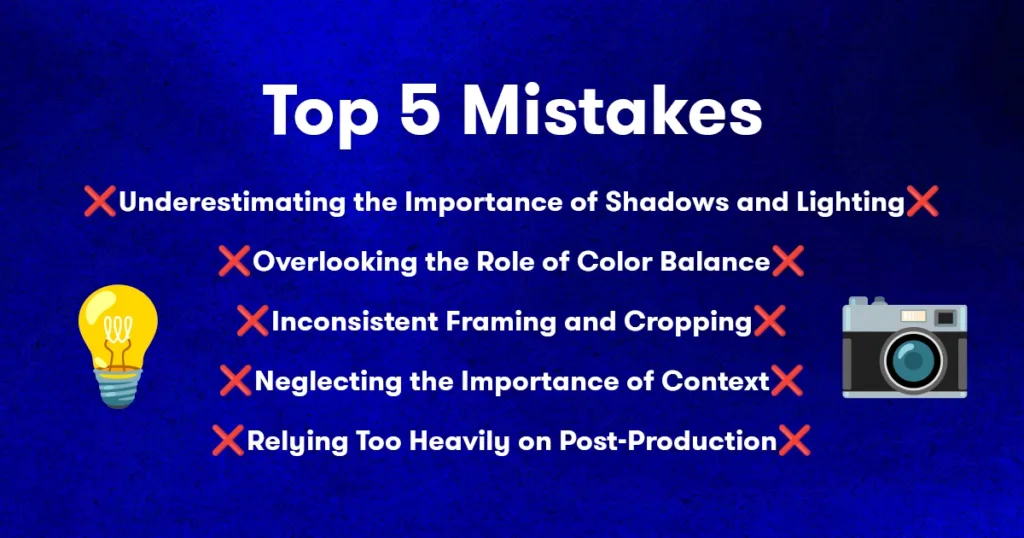
1. Underestimating the Shadows and Ignoring the Importance of Lighting
One of the most critical aspects of photography is lighting, yet it’s frequently overlooked. Poorly lit photos can make products look flat, uninviting, and sometimes unrecognizable. Utilize natural light as much as possible.
Also, shadows play a crucial role in adding depth and texture to product images, yet their management is often an afterthought. Improper shadow placement can unintentionally flatten a product’s appearance or obscure important details, detracting from the overall impact of the photo.
2. Overlooking the Role of Color Balance
Color balance is key to accurately representing a product, but it’s easy to overlook. Different lighting conditions can cast various hues on your product, from the cool tones of fluorescent lights to the warm glow of sunset, significantly altering its appearance.
This variation can be particularly challenging when selling items where color and appearance are critical to the buyer’s decision-making process, such as in fashion or home decor.
Correcting color balance in post-production can help ensure colors are true to life, but getting it right at the source by paying attention to the lighting conditions and white balance settings during the shoot is even more effective.
Proper color balance makes your product images more reliable and professional, boosting customer satisfaction and reducing the likelihood of returns.
3. Inconsistent Framing and Cropping
While variety in product shots is valuable, inconsistent framing and cropping can lead to a disjointed presentation.
Customers often scroll through multiple images to get a sense of the product from different angles. When these images vary wildly in how they’re framed or cropped, it can disrupt the visual flow, making it harder for customers to compare products or understand their features.
Furthermore, consistent framing helps to establish a brand’s visual identity, contributing to its overall market positioning.

For instance, a luxury brand might opt for more spacious, elegantly framed shots to convey a sense of exclusivity, while a brand priding itself on practicality and accessibility might choose straightforward, closely cropped images that focus purely on the product’s functional aspects.
Adopting a thoughtful, consistent approach to framing and cropping across all product photos reinforces brand consistency, aids in customer decision-making, and creates a more pleasant shopping experience.
4. Neglecting the Importance of Context
A product’s context, or lack thereof, can greatly influence its perceived value and utility. Photos that fail to adequately convey how a product is used or its scale can leave potential buyers guessing.
But providing context in product photography does more than just illustrate use; it creates an emotional connection by situating the product within a lifestyle or set of experiences that the potential buyer can aspire to or see themselves in.
For example, a piece of cookware photographed on a stove, amidst ingredients and an active cooking scene, speaks volumes more about its utility and appeal than the same item against a stark background.
This added context can significantly boost the perceived value of a product by showcasing its versatility, quality, and fit within the buyer’s life.
Moreover, including elements for scale, such as a commonly used object, offers a clear reference that helps customers make informed decisions.
Effective contextual photography anticipates and answers the unspoken questions customers might have about a product, reducing uncertainty and building confidence in their purchase decisions.
5. Relying Too Heavily on Post-Production
The temptation to fix every imperfection in post-production can unintentionally strip away the natural qualities that make a product relatable and desirable and can lead to images that feel artificial or even deceptive. You really don’t want that.
For instance, excessively smoothing out the textures of a fabric or adjusting the colors of a product to make them more vibrant than they are in reality might catch the eye initially, but such alterations risk disappointing customers when the product in their hands is not even close to the perfection seen online.
This discrepancy between expectation and reality not only affects the immediate sale but can also ruin a brand’s reputation over the long term.

Customers value transparency and honesty, especially in an online shopping environment where the visual representation is their only window into what they’re buying. By focusing on capturing the best possible shot in-camera and using post-production sensibly to enhance rather than transform, you can maintain the integrity of your product images.
Pro Tips to Get the “Money” Shot
Great ecommerce photography can set your brand apart and make your products irresistible. Here are some tips to boost your photo-shooting game, even if you’re working with minimal equipment or just starting out.
- Tell a story. Use your photos to narrate your product’s story. This could be through lifestyle shots, where you show your product in use, or by creating a theme that resonates with your brand identity.
- Use reflectors. A simple white board can serve as a reflector to brighten shadows and even out lighting, enhancing image quality without costly equipment.
- Experiment with backgrounds. Move beyond plain backgrounds. Textures, patterns, or themed backdrops can add intrigue and context to your photos.
- Play with composition. Arrange your products creatively. Use the rule of thirds, leading lines, or symmetry to make your photos more dynamic.
- Focus on the details. Use macro shots to highlight textures, materials, and quality. Close-up shots can be very persuasive.
- Edit wisely. Post-processing is powerful––learn to use editing tools to adjust lighting, color balance, and remove distractions, but keep edits natural to ensure the product looks as true to life as possible.
- Maintain a uniform style. Keep lighting, angles, and backgrounds consistent across all your product photos. This creates a cohesive look for your brand and instills trust in your customers.
- Choose relevant props. Select props that complement the product and enhance its story without drawing attention away from the main subject.
- Keep it simple. A minimalistic approach often works best. Too many props can clutter the image and confuse the viewer.
- Be mindful of scale. Ensure your props are appropriately sized. Props that are too large can dwarf your product, making it seem less significant.
The goal is to make your products appeal to potential buyers, so keep your focus on highlighting their best features and benefits.
eCommerce Photography FAQ
What’s the best time of day to take product photos using natural light?
The best time to take product photos inside your home using natural light is typically late morning to early afternoon. During these hours, the sunlight is bright enough to fill a room with soft, diffused light, especially if you position your setup near a window.This timeframe avoids the harsh, direct sunlight of midday, which can create unwanted shadows and highlights, and the softer light of the golden hours, which might not be as strong indoors.The exact timing can depend on the orientation of your windows and any obstructions outside that might affect light quality. Experimenting with photos at different times in your specific space will help you pinpoint the optimal lighting conditions for your product shots.
How can I create a white background for my product shots at home?
Creating a white background for your product shots at home is straightforward. Start with a large piece of white poster board or fabric, ensuring it’s smooth and free of wrinkles for a seamless look.Place your product in front of this backdrop, curving the material gently to eliminate any harsh lines behind it. This setup helps you achieve a continuous, clean white background. If needed, minor adjustments in photo editing software can help correct any inconsistencies, ensuring your background is crisp and pure white, making your products stand out beautifully.
How do I reduce unwanted shadows when shooting my products?
Reducing unwanted shadows involves careful manipulation of light. Position your product near a natural light source, like a window, to take advantage of soft, diffused sunlight, which minimizes harsh shadows.If shadows persist, use reflectors—white boards or sheets can bounce light back onto the product, filling in shadows for a more even illumination. Additionally, experimenting with the placement of additional light sources, such as lamps with softboxes or LED panels, can help you achieve the desired effect by balancing the light around the subject. The goal is to light your product from multiple angles, softening or eliminating unwanted shadows for a cleaner, more professional look.
How can I show the true size of my product in photos?
Showing the true size of your product in photos can be achieved by including a common object for scale, something viewers will instantly recognize, such as a coin, a standard-sized pen, or a common household item. This provides a visual reference that helps viewers understand the product’s dimensions more accurately. Additionally, listing the product’s dimensions in the description complements the visual cues in the photo, offering a full understanding of the size. When selecting objects for scale, choose items that don’t distract from the product (or seem too out of place) but enhance the viewer’s ability to understand its size better.
How can I achieve sharp focus in my product photos, especially for close-up shots?
For close-up shots, switch to your camera’s macro mode if available, or use a lens designed for macro photography. This allows you to get close to your product while keeping it in sharp focus. When shooting with your smartphone, ensure your subject is well-lit and use the tap-to-focus feature by tapping on the screen where you want the sharpest focus.Many smartphones also offer a portrait mode or a manual focus option in their settings, which can be great for close-up shots, allowing for more control over the depth of field and focus area. Additionally, use a tripod or stable surface to keep your phone or camera steady, preventing any movement that could blur the photo.
What tips do you have for shooting reflective products without capturing unwanted reflections?
This mainly requires strategic positioning and controlled lighting. Firstly, position your product at an angle to the light source, rather than directly in front or parallel to it, to minimize reflections of the light itself or the surrounding environment. Utilize diffused lighting to soften any harsh reflections; softbox lights or even a diffuser made from translucent materials can help achieve this effect. Also, consider the angle of your camera—shooting at an angle where the camera and any bright light sources are not reflected directly in the product is key. You might experiment with a polarizing filter if using a DSLR or mirrorless camera, which can reduce glare and reflections on reflective surfaces. Lastly, using a backdrop or setting that minimizes busy reflections and editing out any unavoidable reflections in post-production can also contribute to a cleaner, more focused image.
u003cstrongu003eCan DIY backdrops look professional, and how can I create one?u003c/strongu003e
DIY backdrops can indeed look professional and are an excellent way to enhance your product photography without a significant investment. To create one, choose a material that suits the style and mood you’re aiming for—plain colored fabrics, craft paper, or even painted canvas can serve as effective backdrops. For a smooth, seamless look, hang your material in a way that it curves gently from the vertical to the horizontal plane, creating an infinity curve that eliminates harsh lines and angles behind your product. If you’re aiming for texture, materials like reclaimed wood, textured fabrics, or even crumpled paper can add depth and interest to your photos. Lighting is crucial, so make sure your backdrop is evenly lit to avoid shadows or highlights that could detract from the product.
What are the advantages of using a tripod, and do I really need one for product photography?
Using a tripod in product photography brings several key advantages that can significantly improve the quality of your images. Firstly, it stabilizes your camera or smartphone, eliminating camera shake and ensuring sharp, clear photos, which is especially crucial for close-up shots or long exposure times where even slight movements can blur the image. A tripod also allows for consistent framing and composition across multiple shots, making it easier to maintain a uniform look in your product catalog. This consistency is vital for professional-looking ecommerce listings. While handheld shooting might work in some situations, especially with today’s image-stabilized cameras and smartphones, a tripod offers a level of control and precision that can elevate your product shots. Considering the relatively low investment for a basic tripod compared to the potential improvement in image quality and professionalism, it’s a worthwhile accessory for anyone serious about product photography.
How can I maintain color accuracy in my product photos?
To achieve this, start with proper lighting, as it sets the foundation for true-to-life colors. Natural daylight is the most balanced light source, but if you’re using artificial lighting, ensure it has a neutral color temperature that doesn’t cast warm or cool hues on your products. Using a gray or white balance card at the beginning of your shoot can help set the correct white balance for your camera, counteracting any color casts and ensuring colors are reproduced accurately. Most cameras and smartphones allow you to adjust the white balance manually based on the lighting conditions. Use photo editing software to adjust colors as needed, referencing the original product as your guide. Be cautious not to over-saturate or alter the hues beyond recognition. It’s also beneficial to calibrate your monitor to ensure the colors you see during editing match what customers will see on their screens.
What’s the most efficient way to photograph a large inventory of products?
Start by setting up a dedicated photography area where you can work without interruptions. This space should have consistent lighting, either from natural sources or with artificial lights set up to mimic daylight, and a standard pretty neutral backdrop that complements all your products.nBatch your work by grouping products that are similar in size, shape, or color to minimize adjustments to your setup and camera settings. Use a checklist to ensure you capture all necessary angles and details for each product type.Tools like tethering, where your camera is connected directly to a computer, can also speed up the review process, allowing you to see and adjust your shots in real time. Invest time in preparing so that when it’s time to shoot, you can work systematically, moving efficiently from one product to the next without unnecessary delays. Remember, consistency in your setup and process is key to efficiently handling a large volume of product photography.
Continue learning:
Head of Content
After bouncing around tech start-ups and university literature programs, Joe has finally settled down as Billo’s Head of Content. Joe now spends his days writing ads about ads, teaching clients how to craft killer content, and combing through our web copy with a bold red Sharpie.
Make creator marketing a data-backed growth channel

Related from Creative Insider

Snapchat ads for ecommerce: what works, what doesn’t, and how to start

Social Commerce: Turn A 15-Second Scroll Into A Sale Without The Traditional Funnel